Short answer: most cats with healthy, clean ears do not need routine ear cleaning. A quick visual check is useful; cleaning “just in case” is not. Over-cleaning can irritate the ear canal, while redness, pain, odor, discharge, persistent scratching or head shaking should be assessed before you put cleaner into the ear.
This is a general care guide, not a report that Ruby, Loki or Coco have an ear problem. It will help you separate three different actions: observe, follow a veterinarian’s cleaning plan, or arrange veterinary care.

Start with a look, not a cleaning schedule
Choose an ordinary calm moment when your cat is already nearby. Look at the visible part of each outer ear without pinning your cat down or trying to inspect deep inside the canal. Compare left with right and compare today with what is normal for your cat.
You are not trying to diagnose an infection or identify a parasite. The useful question is simply: Does anything look, smell or feel different enough that I should stop and ask a veterinarian? Cornell’s feline ear-disorder guidance recommends routine visual examination for swelling, discharge, discoloration and accumulated debris—and specifically advises owners not to probe a persistently itchy ear.
A normal-looking check does not require a “perfectly spotless” ear. According to VCA’s cat ear-cleaning guidance, most cats have healthy, clean ears and never need routine cleaning; unnecessary cleaning can irritate the canal.
What you see should decide the next step
| What you notice | Useful next step | What not to conclude |
|---|---|---|
| Both ears look usual for your cat; there is no new odor, discharge, redness, pain, scratching or head shaking. | Record “no change” if you are tracking care, then leave the ears alone. | A clean-looking ear does not need preventive swabbing. |
| A small amount of visible wax, but your cat is comfortable and nothing else changed. | Note the amount and recheck at your normal observation time. Ask your veterinary team whether this cat needs any cleaning plan. | Wax color alone does not identify mites or infection. |
| New odor, dark/brown/yellow discharge, redness, heat, swelling, frequent scratching, repeated head shaking or obvious discomfort. | Contact your veterinarian before cleaning or using drops. A clinician may need to examine the canal and eardrum or test debris. | Do not assume it is “just dirty” or choose a treatment by appearance. |
| Head tilt, loss of balance, circling, marked pain, sudden hearing change or rapid worsening. | Seek prompt veterinary advice. Inner-ear disease can affect balance, and a painful ear should not be cleaned at home first. | Do not wait for a home-cleaning trial to work. |
The signs in the lower rows overlap. Cornell explains that untreated outer-ear inflammation can progress toward the middle or inner ear, where hearing and balance may be affected. An otoscope and, when needed, examination of debris help a veterinarian distinguish causes that can look similar from the outside.
Why “dirty” is not a diagnosis
Dark material can occur with ear mites, but appearance alone does not confirm mites. Cornell notes that mites can cause intense scratching, head shaking, inflammation and dark, foul-smelling debris. Other ear problems can produce overlapping signs, so treatment depends on identifying the cause rather than matching the debris to a photograph online.
Ear mites are contagious between animals through close contact. If a veterinarian diagnoses them in one pet, ask how every cat and dog in the household should be managed. Cleaning can remove some debris, but it does not replace the medication needed to eliminate mites; PDSA’s ear-mite guidance also advises veterinary assessment and notes that other household pets may need treatment.
If your veterinarian recommends cleaning
Ask for the exact product, amount, frequency and stopping point for your cat. Confirm whether cleaning should happen before medication and how long to wait between them. A plan for one diagnosis should not be reused for another cat or another episode without advice.
Follow the demonstration from your clinic and the product instructions. Keep the bottle tip at the entrance rather than pushing it into the canal. After the prescribed cleaner is applied, gentle massage at the ear base and allowing the cat to shake can help move loosened material outward; wipe only what is visible with cotton wool or gauze.
Do not insert cotton-tipped swabs into the canal. Both PDSA and VCA warn that swabs can push material deeper and may injure the canal or eardrum. Stop if your cat shows pain or escalating distress, and call the clinic rather than completing the procedure by force.
A worked example: observe, do not improvise
Hypothetical example—not Ruby, Loki or Coco: Cat A’s ears looked usual on Saturday. On Monday, the caregiver notices repeated head shaking and brown material in the left ear. The caregiver writes down the time, which ear is affected, whether appetite and balance appear normal, and takes a clear photograph of the visible outer ear without probing it. They call the veterinary clinic before applying cleaner or leftover drops.
The useful decision is not “brown means mites.” It is “a new one-sided change plus head shaking needs assessment.” The note and photograph may help the clinic understand the timeline, but they do not replace an ear examination.
A two-minute ear observation note
This is an observation tool, not a diagnostic score. Use it only when your cat is comfortable enough for a look.
- Date and reason for looking: routine glance, new scratching, head shake, odor or other change.
- Left and right: same as usual, or what looks different.
- Visible signs: redness, swelling, discharge, debris, odor or skin injury around the ear.
- Behavior: scratching, rubbing, head shaking, avoidance, pain response, head tilt or balance change.
- Next action: leave alone, recheck, or contact the veterinary clinic.
For a household with several cats, keep a separate entry for each animal. Our multi-cat home guide explains why individual records matter. If handling itself is difficult, the gradual, choice-based approach in our adult-cat tooth-brushing guide offers a useful model: work below the cat’s tolerance threshold and do not restrain through distress.
The practical rule to remember
Look at the visible outer ear occasionally and learn your cat’s normal. If the ears are comfortable and clean, leave them alone. If your veterinarian has prescribed cleaning, follow that individual plan. If you see pain, inflammation, discharge, odor, persistent scratching, repeated head shaking or a balance change, pause the home care and seek veterinary advice.
Sources and further reading
- Cornell Feline Health Center: Feline Ear Disorders — visible warning signs, avoiding probing and effects on hearing or balance.
- Cornell Feline Health Center: Ear Mites — signs, diagnosis and the need for veterinary treatment.
- VCA Animal Hospitals: Ear Cleaning and Administering Ear Medication in Cats — when cleaning is unnecessary and why cotton-tipped applicators should be avoided.
- PDSA: How to Clean Your Cat’s Ears — veterinarian-led product choice and safe visible-ear wiping.
Sources checked November 9, 2026. This article provides general education and does not replace examination or instructions from your own veterinary team.
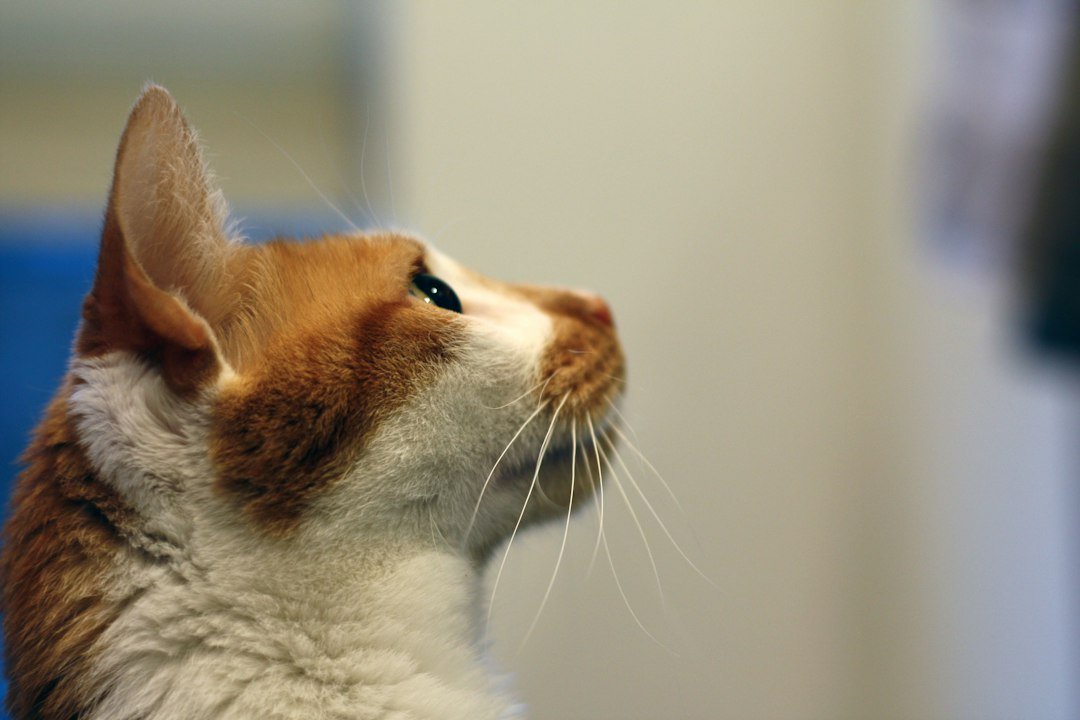
Featured image: illustrative stock photograph; not Ruby, Loki or Coco. Photo: Sebastian Schuster / Unsplash License. Resized for the web.